Interior Design
Showcase.

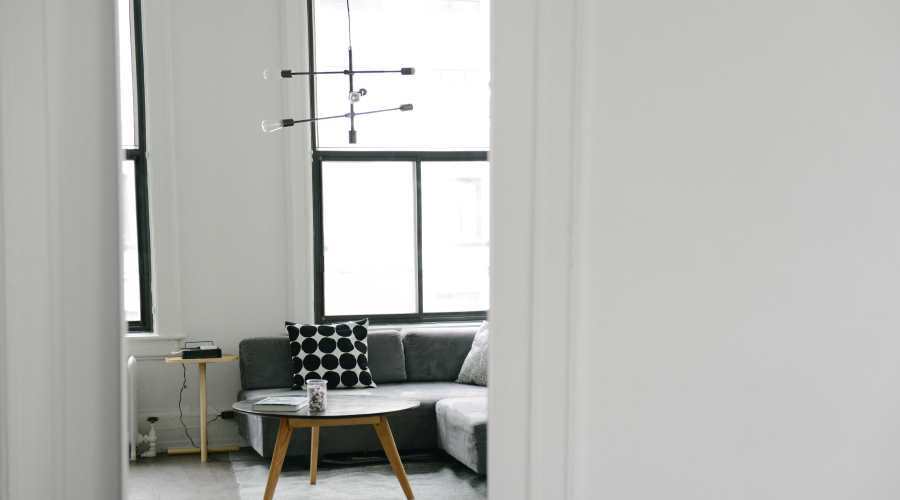
Services.
We are a interior design service that focus on what's best for your home and what's best for you!
Some text about our services - what we do and what we offer. We are lorem ipsum consectetur adipiscing elit, sed do eiusmod tempor incididunt ut labore et dolore magna aliqua. Ut enim ad minim veniam, quis nostrud exercitation ullamco laboris nisi ut aliquip ex ea commodo consequat. Duis aute irure dolor in reprehenderit in voluptate velit esse cillum dolore eu fugiat nulla pariatur. Excepteur sint occaecat cupidatat non proident, sunt in culpa qui officia deserunt mollit anim id est laborum consectetur adipiscing elit, sed do eiusmod tempor incididunt ut labore et dolore magna aliqua. Ut enim ad minim veniam, quis nostrud exercitation ullamco laboris nisi ut aliquip ex ea commodo consequat.
Designers.
The best team in the world.
We are lorem ipsum consectetur adipiscing elit, sed do eiusmod tempor incididunt ut labore et dolore magna aliqua. Ut enim ad minim veniam, quis nostrud exercitation ullamco laboris nisi ut aliquip ex ea commodo consequat. Duis aute irure dolor in reprehenderit in voluptate velit esse cillum dolore eu fugiat nulla pariatur. Excepteur sint occaecat cupidatat non proident, sunt in culpa qui officia deserunt mollit anim id est laborum consectetur adipiscing elit, sed do eiusmod tempor incididunt ut labore et quis nostrud exercitation ullamco laboris nisi ut aliquip ex ea commodo consequat.
Our designers are thoughtfully chosen:

John Doe
CEO & Founder
Phasellus eget enim eu lectus faucibus vestibulum. Suspendisse sodales pellentesque elementum.

Jane Doe
Designer
Phasellus eget enim eu lectus faucibus vestibulum. Suspendisse sodales pellentesque elementum.

Mike Ross
Architect
Phasellus eget enim eu lectus faucibus vestibulum. Suspendisse sodales pellentesque elementum.
Packages.
Some text our prices. Lorem ipsum consectetur adipiscing elit, sed do eiusmod tempor incididunt ut labore et dolore magna aliqua. Ut enim ad minim veniam, quis nostrud exercitation ullamco laboris nisi ut aliquip ex ea commodo consequat. Duis aute irure
- Basic
- Floorplanning
- 10 hours support
- Photography
- 20% furniture discount
- Good deals
-
$ 199
per room
- Pro
- Floorplanning
- 50 hours support
- Photography
- 50% furniture discount
- GREAT deals
-
$ 249
per room
Contact.
Do you want us to style your home? Fill out the form and fill me in with the details :) We love meeting new people!